Elevate Your Coffee Game with Cold Foam
Did you know that 61% of coffee drinkers in 2025 prefer brewing their coffee at home to save money while still craving that café-quality experience? The rise of cold foam a creamy, frothy topping that transforms iced coffee into a luxurious treat has taken the coffee world by storm. Whether you’re sipping a nitro cold brew or an iced latte, cold foam adds a velvety texture and subtle sweetness that makes every sip feel indulgent. In this article, we’ll guide you through crafting barista-level cold foam at home, using simple tools and techniques. From choosing the right milk to mastering frothing methods, you’ll learn how to create café-worthy drinks without stepping out your door. Let’s dive into the art and science of cold foam and elevate your home-brew experience
Why Cold Foam Matters in the Coffee Niche
Cold foam isn’t just a trendy topping; it’s a game-changer for coffee lovers. According to the National Coffee Association’s 2025 report, specialty non-espresso beverages like cold brew and iced coffee have surged by 42% in consumption since 2020. Cold foam enhances these drinks by:
- Adding a creamy, frothy texture that contrasts with the chilled coffee.
- Allowing customization with flavors like vanilla, caramel, or pumpkin spice.
- Elevating the aesthetic appeal, making your drink Instagram-worthy.
Whether you’re a home barista or a casual coffee enthusiast, mastering cold foam lets you recreate the coffee shop experience at a fraction of the cost.
What You’ll Need to Make Barista-Level Cold Foam
Before we dive into the process, let’s gather the essentials. You don’t need fancy equipment to achieve café-quality cold foam, but having the right tools makes a difference. Here’s what you’ll need:
- Milk or milk alternative: Choose skim, whole, or non-dairy options like oat or almond milk.
- Sweetener (optional): Simple syrup, vanilla syrup, or honey for flavor.
- Frothing tool: A handheld milk frother, French press, or mason jar.
- Cold coffee base: Cold brew, iced latte, or nitro cold brew.
- Measuring tools: A small measuring cup or spoon for precision.
- Chilled glass or cup: To keep your drink refreshing.
Step-by-Step Guide to Crafting Cold Foam at Home
Step 1: Choose the Best Milk for Cold Foam
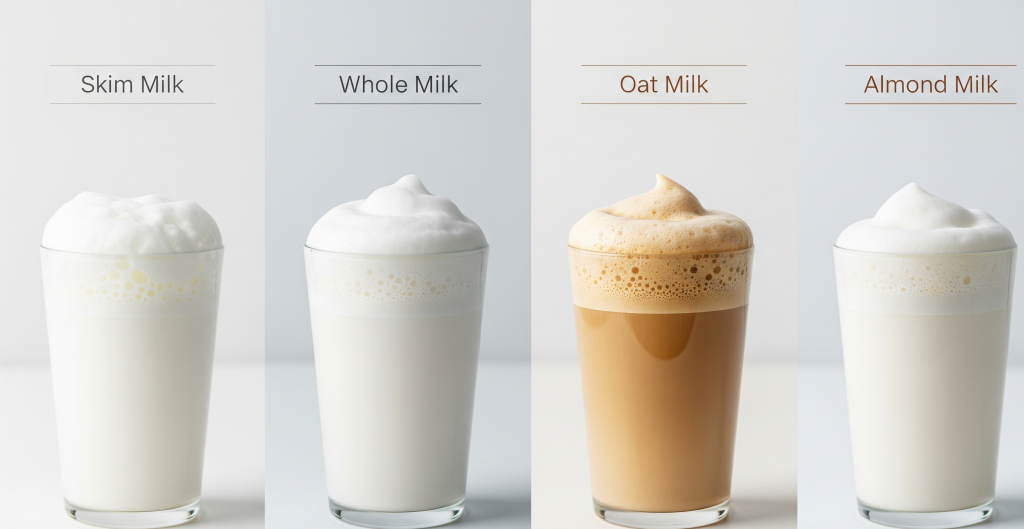
The foundation of great cold foam is the milk you use. Different milks produce varying levels of froth and flavor. Here’s a breakdown:
- Skim milk: Creates the thickest, most stable foam due to its low fat content. Ideal for beginners.
- Whole milk: Offers a richer, creamier foam but may be less frothy.
- Non-dairy milk: Oat milk froths well and adds a naturally sweet flavor. Almond milk is lighter but less foamy. Avoid lactose-free milk, as it lacks the proteins needed for frothing.
- Heavy cream: For an ultra-decadent foam, mix with milk for a velvety texture.
Pro Tip: Use cold milk straight from the fridge. Warmer milk won’t froth as well.
Step 2: Add Flavor (Optional)
To mimic coffee shop cold foam, add a touch of sweetness or flavor. Popular options include:
- Vanilla syrup: 1–2 teaspoons for a classic taste.
- Caramel syrup: Perfect for a dessert-like drink.
- Pumpkin spice: A seasonal favorite for fall-inspired drinks.
- Simple syrup: A neutral sweetener that blends easily.
Mix the sweetener into the milk before frothing to ensure even distribution.
Step 3: Froth the Milk
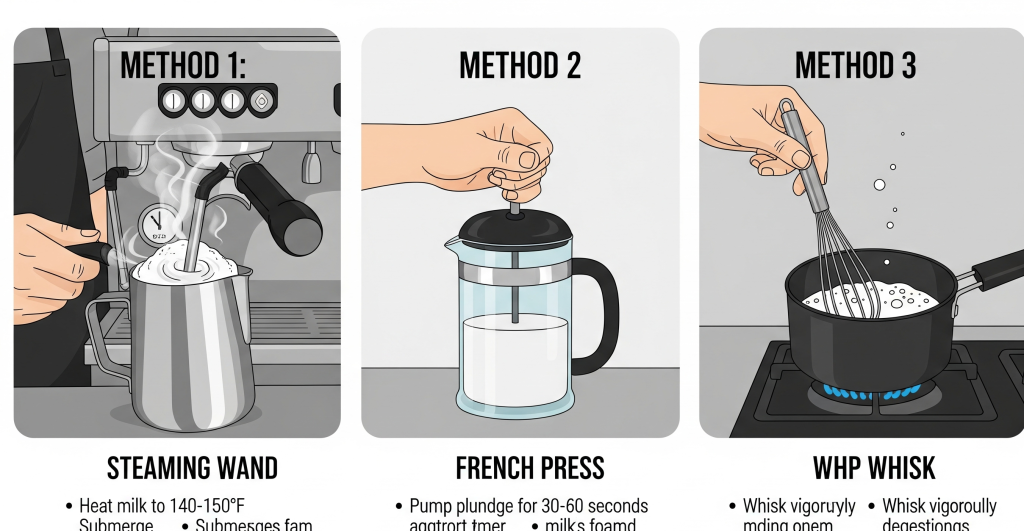
There are three easy methods to create cold foam at home, depending on your tools:
Method 1: Handheld Milk Frother
- Pour ¼ cup of cold milk into a small cup.
- Add sweetener, if using.
- Insert the frother and blend for 20–30 seconds until thick, frothy foam forms.
- Advantage: Quick and precise. Disadvantage: Requires a frother.
Method 2: French Press
- Pour ½ cup of cold milk into a clean French press.
- Add sweetener, if desired.
- Pump the plunger rapidly for 30–60 seconds until foam doubles in volume.
- Advantage: No electricity needed. Disadvantage: More effort required.
Method 3: Mason Jar
- Pour ¼ cup of cold milk into a mason jar with a tight lid.
- Add sweetener, if using.
- Shake vigorously for 30–60 seconds until frothy.
- Advantage: No special tools needed. Disadvantage: Less consistent foam.
Step 4: Prepare Your Cold Coffee Base
Cold foam shines when paired with a chilled coffee base. Here are popular options:
- Cold Brew: Steep coarse coffee grounds in cold water for 16–24 hours for a smooth, low-acid coffee.
- Iced Latte: Mix espresso with cold milk and ice for a creamy base.
- Nitro Cold Brew: Infuse cold brew with nitrogen for a frothy, beer-like texture. Use a nitro infuser at home or buy canned nitro coffee.
Pour your coffee base over ice in a chilled glass, leaving room for the cold foam.
Step 5: Top with Cold Foam
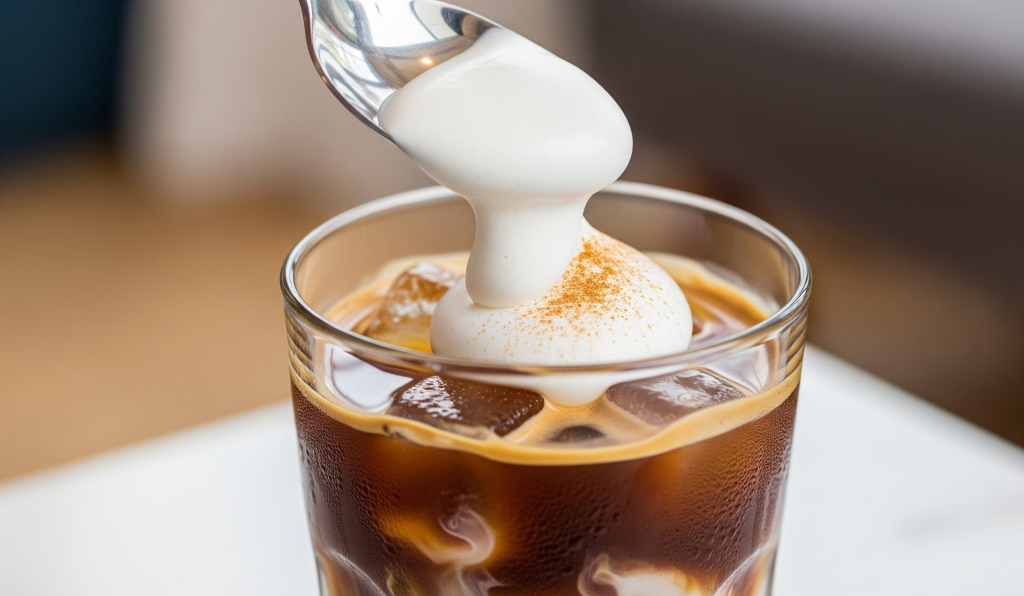
Spoon or pour the cold foam over your coffee base. For a professional touch:
- Use a spoon to layer the foam gently, preserving its texture.
- Swirl the glass to blend the foam slightly with the coffee.
- Garnish with a dusting of cinnamon, cocoa, or a drizzle of syrup.
Tips for Perfecting Your Cold Foam
To achieve barista-level cold foam, keep these tips in mind:
- Chill everything: Use cold milk, a cold frothing tool, and a chilled glass to maintain foam stability.
- Don’t over-froth: Stop frothing when the milk doubles in volume to avoid a grainy texture.
- Experiment with ratios: Adjust milk and sweetener amounts to suit your taste.
- Clean tools immediately: Milk residue can clog frothers or French presses, affecting future foam quality.
- Practice consistency: Measure ingredients precisely for repeatable results.
Common Mistakes to Avoid
Even seasoned home baristas can stumble when making cold foam. Here’s what to watch out for:
- Using warm milk: Warm milk won’t froth properly and may curdle.
- Overloading sweetener: Too much syrup can weigh down the foam.
- Frothing too long: Over-frothing creates stiff, dry foam that collapses quickly.
- Skipping the chill: Room-temperature coffee or glasses dilute the foam and coffee.
Customizing Your Cold Foam for a Unique Home-Brew Experience
Part of the fun of being a home barista is experimenting with flavors and textures. Try these ideas to make your cold foam stand out:
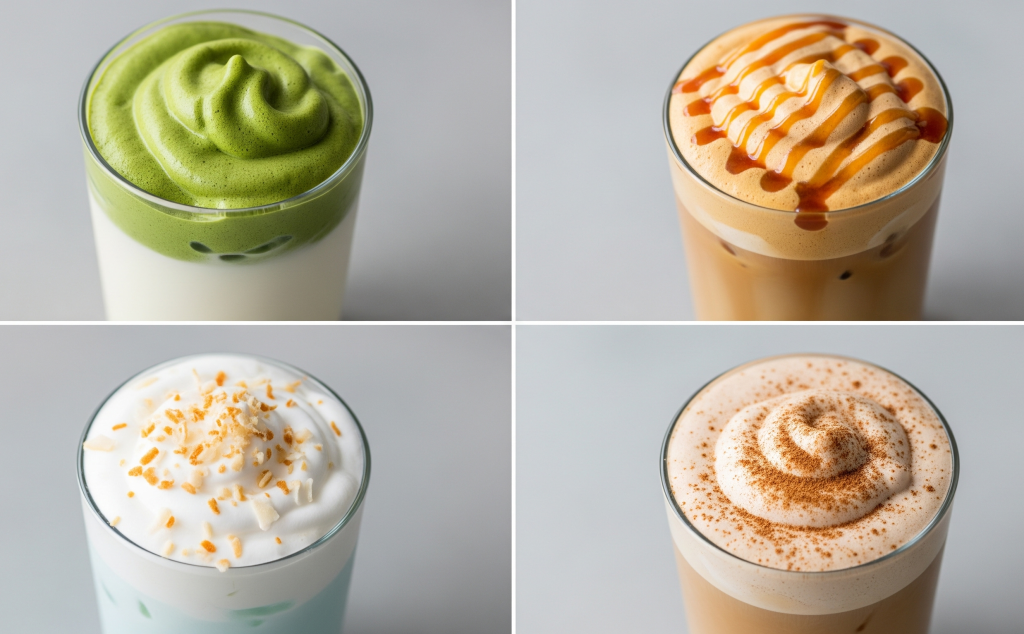
- Matcha Cold Foam: Blend matcha powder with milk for a vibrant green foam that pairs with iced coffee or tea.
- Salted Caramel Foam: Add a pinch of sea salt to caramel syrup for a sweet-salty twist.
- Coconut Cold Foam: Use coconut milk for a tropical vibe, perfect for nitro cold brew.
- Spiced Chai Foam: Mix chai spice blend with milk for a warm, aromatic foam.
The Science Behind Cold Foam
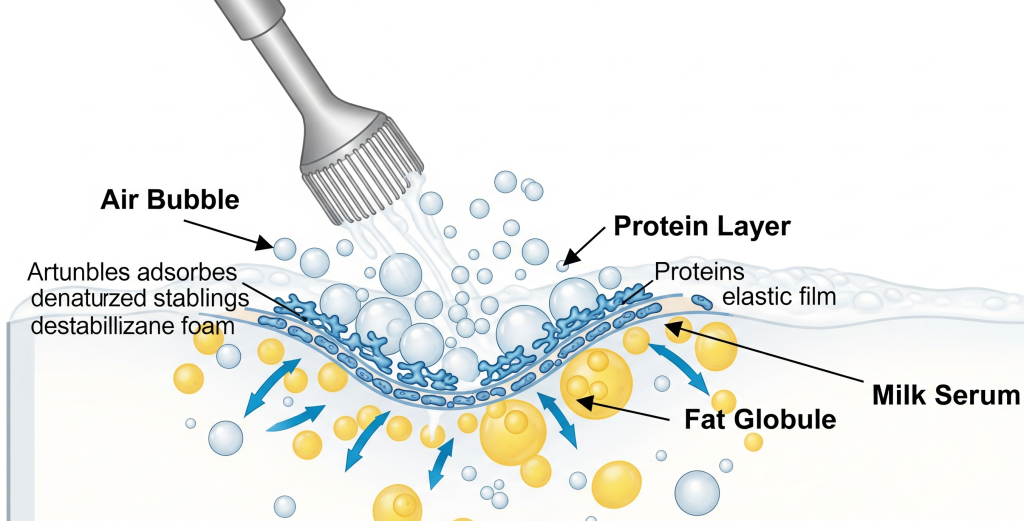
Understanding the chemistry of cold foam can help you perfect your technique. When you froth milk, you’re incorporating air into the liquid, creating tiny bubbles stabilized by milk proteins. Skim milk froths best because it has more proteins and less fat, which can weigh down the foam. Cold temperatures keep the bubbles tight and stable, preventing collapse. Sweeteners like syrups add viscosity, helping the foam hold its shape longer.
Pairing Cold Foam with Coffee Trends in 2025
The coffee industry is evolving, and cold foam fits perfectly into 2025’s trends:
- At-home coffee rituals: 85% of coffee drinkers enjoy brewing at home, seeking barista-quality results.
- Plant-based milks: Non-dairy options like oat and pistachio milk are surging in popularity.
- Texture-driven drinks: Consumers crave unique textures, making cold foam a must-have topping.
- Social media appeal: Cold foam drinks are photogenic, boosting their popularity on platforms like Instagram.
By mastering cold foam, you’re not just making coffee you’re tapping into a cultural movement.
Troubleshooting Your Cold Foam
If your cold foam isn’t turning out right, try these fixes:
- Foam collapses quickly: Use colder milk or a higher-protein milk like skim or oat.
- Foam is too stiff: Froth for less time to keep it soft and creamy.
- No foam forms: Check your frother’s batteries or ensure you’re using enough milk.
- Foam tastes flat: Add a pinch of salt or more sweetener for depth.
Why Cold Foam Enhances the Coffee Shop Experience at Home
Cold foam does more than taste good it transforms your home-brew experience into something special. It’s a small act of creativity that makes your morning coffee feel like a treat. Plus, it saves money: a coffee shop iced latte with cold foam can cost $5–$7, while making it at home costs less than $1 per serving.
Become a Home Barista with Cold Foam
Crafting barista-level cold foam is easier than you think. With the right milk, tools, and techniques, you can elevate your iced coffee, cold brew, or nitro cold brew to rival any café. Experiment with flavors, perfect your frothing method, and embrace the joy of being a home barista. Your next cup of coffee isn’t just a drink it’s an experience. So, grab your frother and start creating your own café-quality cold foam today!
FAQs About Cold Foam
- What is cold foam?
Cold foam is a frothy, creamy milk topping made by frothing cold milk, often used on iced coffee or cold brew. - Can I make cold foam without a frother?
Yes! Use a French press or mason jar to froth milk by pumping or shaking. - What’s the best milk for cold foam?
Skim milk or oat milk froths best due to high protein content. - How long does cold foam last?
Cold foam is best used immediately but can sit for 10–15 minutes if kept cold. - Can I add flavors to cold foam?
Absolutely! Try vanilla, caramel, or matcha for a custom twist.